Smash burgers are like the holy grail for burger lovers. But making the perfect smash isn’t a joke. You got to really go for it, none of that half-hearted pressing business. Too many folks end up with fat patties that don’t have that killer crust.
To nail the smash burger game, start with loosely packed meat and a hot skillet. Then grab a spatula, or a burger press, or use the bottom of a 28 oz can, and after placing onion rounds on the pan, really give that beef a good squish until it’s no more than 1 cm deep. This hardcore move squeezes out the juices, making way for that delicious brown crust to form. This is where the magic happens, with the Maillard reaction bringing all those savory flavors and drool-worthy smells to the party. Cook it until it’s crispy, then load it up with your favorite toppings for a burger that’ll knock your socks off.

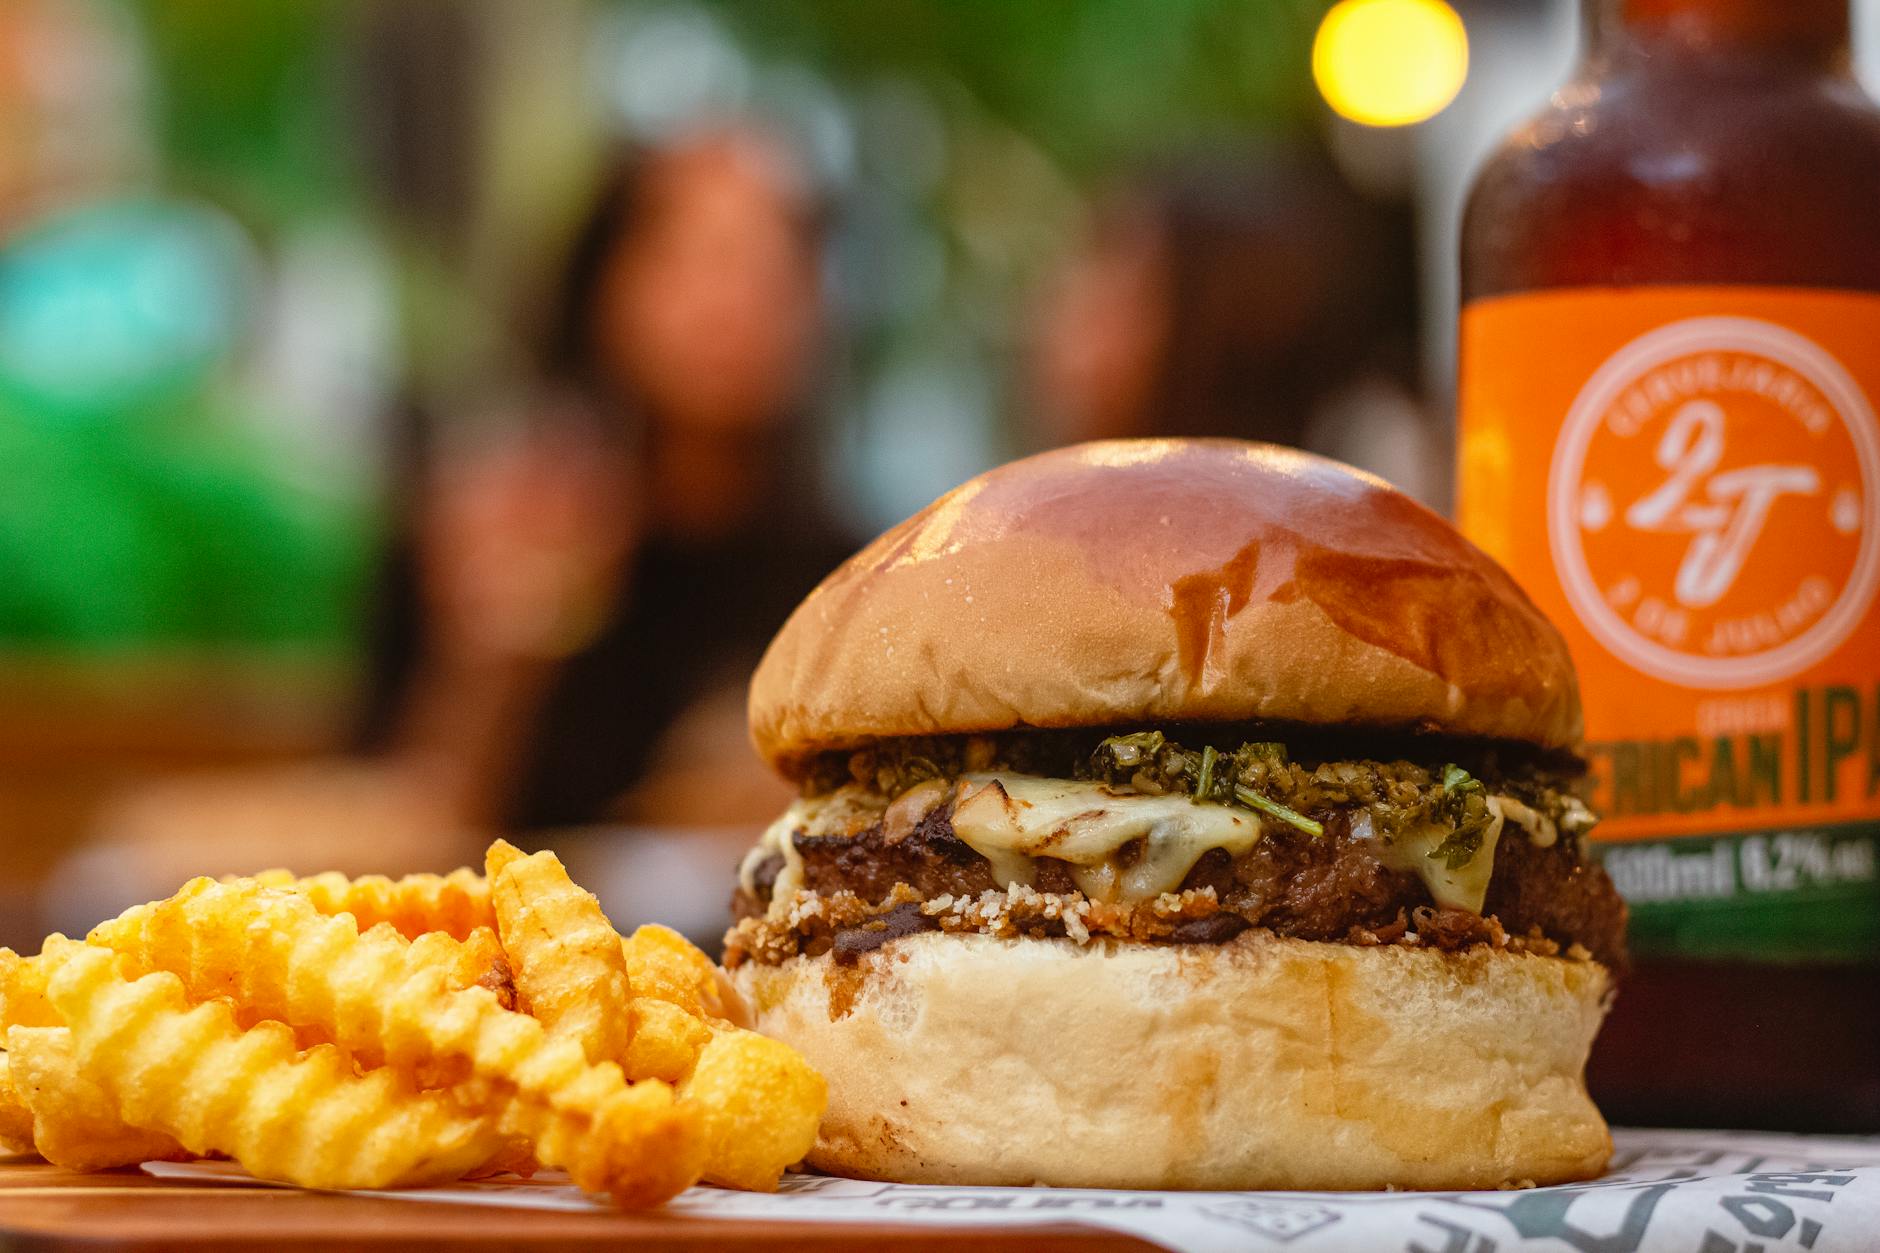
For onion smash burgers, add an extra layer of flavor by slicing onion rounds paper thin and placing them on the skillet. Afterward, press the burger on top of the onions to infuse the meat with their aromatic essence. This technique adds a delightful twist to the classic smash burger, elevating it to a whole new level of deliciousness.

Back in the early 70s, my husband (Kim) was a line cook in the Brooklyn for a month to pay rent before joining the Army. He smashed burgers with a tomato can! Today, we use a cast-iron press at home for perfect burgers and grilled meat without messing up a perfectly good can of tomatoes!
Tips:
- Choose the Right Meat: Use ground beef with a higher fat content, like 80/20. The extra fat makes the burger juicy.
- Don’t Overwork the Meat: When forming your burger patties, try not to overwork the meat. This can make the burgers tough.
- Season Generously: Don’t be shy with the salt and pepper! Season the patties generously on both sides before cooking.
- High Heat is Key: Cook your burgers on high heat to get a nice sear on the outside while keeping them juicy on the inside.
- Smash the Burger: Once you’ve placed the burger on the grill or skillet, use a spatula to smash it down firmly. This increases the surface area of the meat that’s in contact with the heat, leading to more caramelization and flavor.
- Don’t Press Down on the Burger While Cooking: After the initial smash, don’t press down on the burger as it cooks. This can squeeze out the juices and make the burger dry.
- Use a Good Bun: A good burger deserves a good bun. Choose a bun that’s sturdy enough to hold up to the burger and the toppings. But, if you are like me and just want a burger without all the fixings, any old bun will do too!
- Add Toppings: Add your favorite toppings. Traditional options include lettuce, tomato, onion, pickles, bacon and cheese.
Remember, the key to a great smashed burger (or any dish, really) is to experiment and find what you like best. Happy smashing!

Duck fat fried French fries go along with the burgers. But you have to try my favorite side of fried potatoes in crispy rounds. Recipe coming soon!

Best of the 70’s Onion Smash Burgers
Ingredients
Equipment
Method
- Mix all sauce ingredients together and adjust to taste. Set aside. Prepare a burger "station" or have all toppings on a cutting board ready for assembly.
- In a 12-inch skillet, add duck fat or oil, then wipe around with a paper towel. Place the skillet over medium heat and allow it to preheat for about 4-5 minutes. Meanwhile, gently form each portion of ground beef into a ball, being careful not to overhandle the meat, just until it holds its shape without falling apart. Avoid excessive handling of the meat.
- When the skillet begins to emit a slight smoke, indicating it's adequately heated, add two separate handfuls of sliced onions to the spots where each burger will be placed. Next, place a beef ball on top of each pile of onions. Using a firm stiff metal spatula, burger press, or the bottom of a can, press down on each one until they are roughly 4 to 4½ inches in diameter and about 1 cm thick. If needed, use a second spatula to apply downward pressure to ensure the burgers are smashed sufficiently.
- Generously season burgers with steak seasoning of choice or salt and pepper.
- Cook without moving until a golden-brown crust develops, about 2 minutes. Use the edge of the spatula to carefully scrape up and flip the patties one at a time, making sure to get all browned bits removed from the skillet. If using cheese, add now.
- Continue to cook until patties are cooked to desired doneness – about 1 minute longer or when cheese has melted. Turn of heat. Remove skillet from the burner. Remove from pan and set aside on a plate.
- Lightly butter the buns and toast each side on the skillet until they reach your desired level of doneness. You can toast both sides or just the insides according to your preference. Be mindful not to burn them; ensure the heat is off as needed.
- Assemble the burgers or allow each individual to customize their own according to their preferences as they enjoy their meal.
Notes
- To achieve the best results, consider cooking two patties simultaneously in a 10-12 inch skillet. If you’re utilizing a large electric griddle, you can easily accommodate more patties at once.
- Elevate the flavor of your burgers by incorporating a tablespoon of duck or goose fat into the pan before frying. If you’ve recently used duck fat to fry potatoes for this meal, repurposing the residual fat in the pan for cooking the burgers imparts an additional richness and depth to the overall flavor profile.
- To enhance the flavor of the tomato slice, I prefer seasoning it with a bit of salt and pepper as I assemble the burger.
- No matter the size of your group for the meal, a burger station allows people to customize their burgers with various toppings, condiments, and patties.
Tried this awesome sheet pan recipe? Let me know in the comments how it went for you. I would love to hear from you:)