Ever since coming across this recipe in the chill of winter, I’ve been absolutely obsessed, whipping up this bread a whopping five times. Every bake yields a gorgeous rustic boule, just like those from a fancy bakery, with a crust so crispy and a center so fluffy, it’s irresistible. It’s become the star of our dinners, feeding our hungry family of six with ease. And guess what? The leftovers make killer toast and sandwiches, staying just as fresh even after a stint in the freezer!
Adapted from “The Minimalist,” The New York Times: Dining In article and this video by Mark Bittman who describes Jim Lahey’s slow-rise, no-knead bread-making process. November 8, 2006. Recipe adapted by Alexandra Stafford.

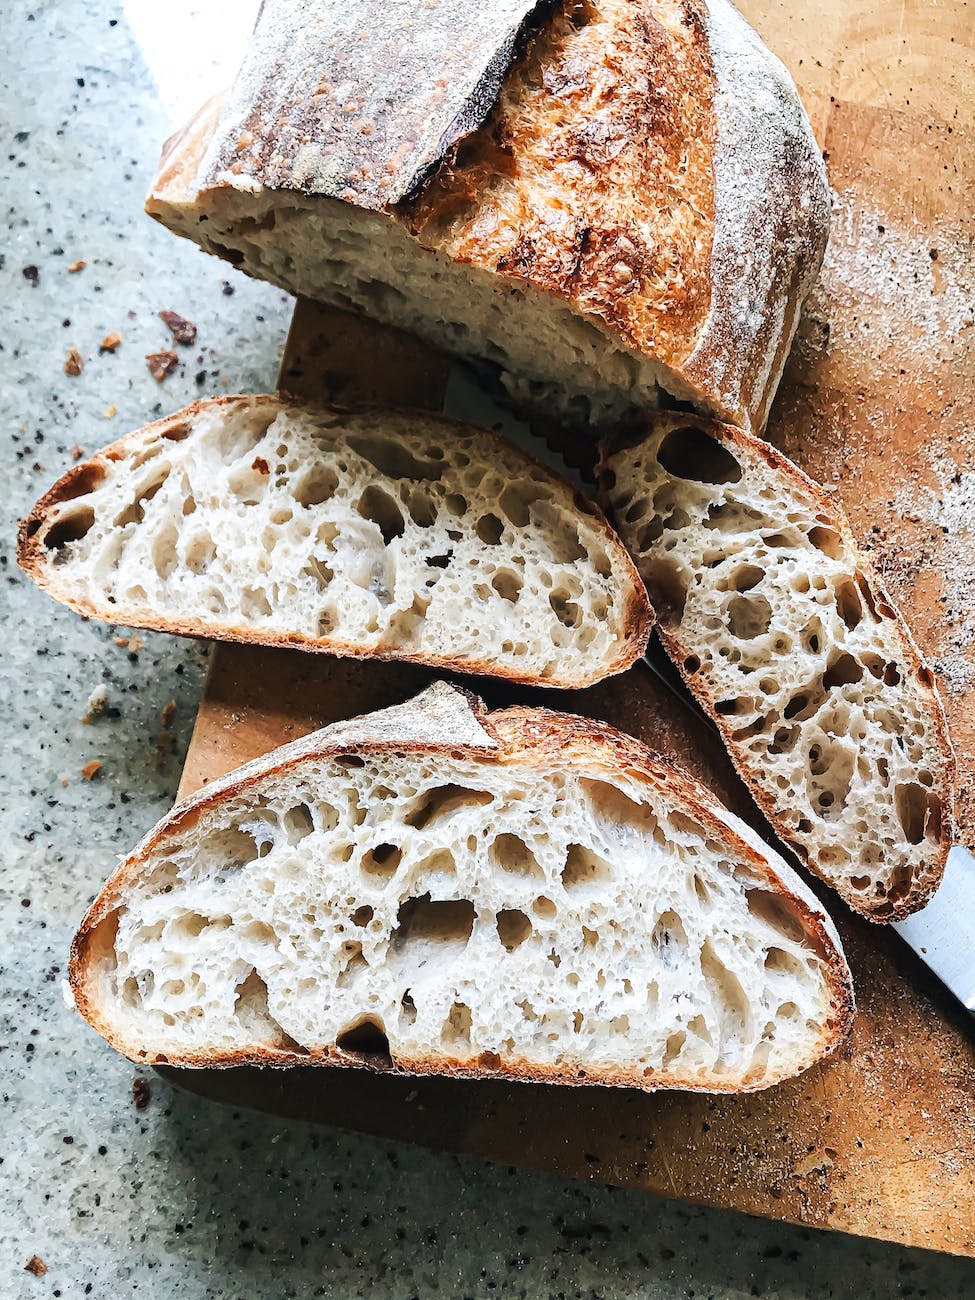
Jim Lahey’s Overnight No-Knead Bread
Ingredients
Equipment
Method
- In a large bowl, combine flour, yeast, salt and sugar. Add 1⅝ cups water and stir until blended. Dough will be sticky. Cover bowl with plastic wrap and let rest 12-18 hours at room temperature.
- After the 12–18-hour rise, or when the surface of the dough is dotted with bubbles, lightly flour a work surface and place dough on it. Sprinkle a little more flour on the dough and fold it over on itself once or twice. Cover loosely with plastic wrap and let rest about 15 minutes.
- Meanwhile, lay a clean kitchen tea towel (avoid terry cloth) on a flat surface, ensuring it's in a draft-free area. I opted for a cutting board to keep the dough in a convenient spot. Generously sprinkle the towel with cornmeal, wheat bran, oat bran, or a combination (I used a mix of Bob's Red Mill 10-Grain Cereal and cornmeal). After 15 minutes, shape the dough into a ball using enough flour to prevent sticking, and place it seam side down in the center of the prepared towel. Dust the top with more of the cornmeal mixture. If the towel is large enough, fold the sides over the bread to cover it completely; if not, use another towel. Allow it to rise for another 2 hours.
- Depending on your oven's heating speed and your desired level of crust caramelization, about 15-25 minutes before the dough is ready, preheat the oven to 450°F. Place a heavy, covered pot (such as cast iron, enamel, Pyrex, or ceramic Emile Henry Dutch oven, or a circular Pyrex baking dish) on a rimmed baking sheet and place it in the oven as it preheats. (Some bakers prefer not to preheat the baking pot and pan, and bake the bread without the scorching hot pot, resulting in a crust they prefer).
- When dough is ready, carefully remove the pot from the oven. Slide your hand under the towel and turn dough over into the pot. This is tricky and a bit messy. Just do your best. Cover with the lid and bake 30 minutes.
- Remove the lid after 30 minutes and bake another 5-30 minutes uncovered or until it sounds hollow when tapped. (I experimented with 5 loaves to get the crust I loved. I prefer an extra 10 minutes, my husband an extra 15 minutes, and we both agreed anymore baking time is too dark for our taste and use.) Remove from the oven and turn out onto a cooling rack.
Notes
Give it a try! Share your thoughts in the comments below, and if you make this bread, be sure to post your review! I’d love to hear from you!